Ride Customisation
Dive into ultimate customisation and add your own creative flair to your rides
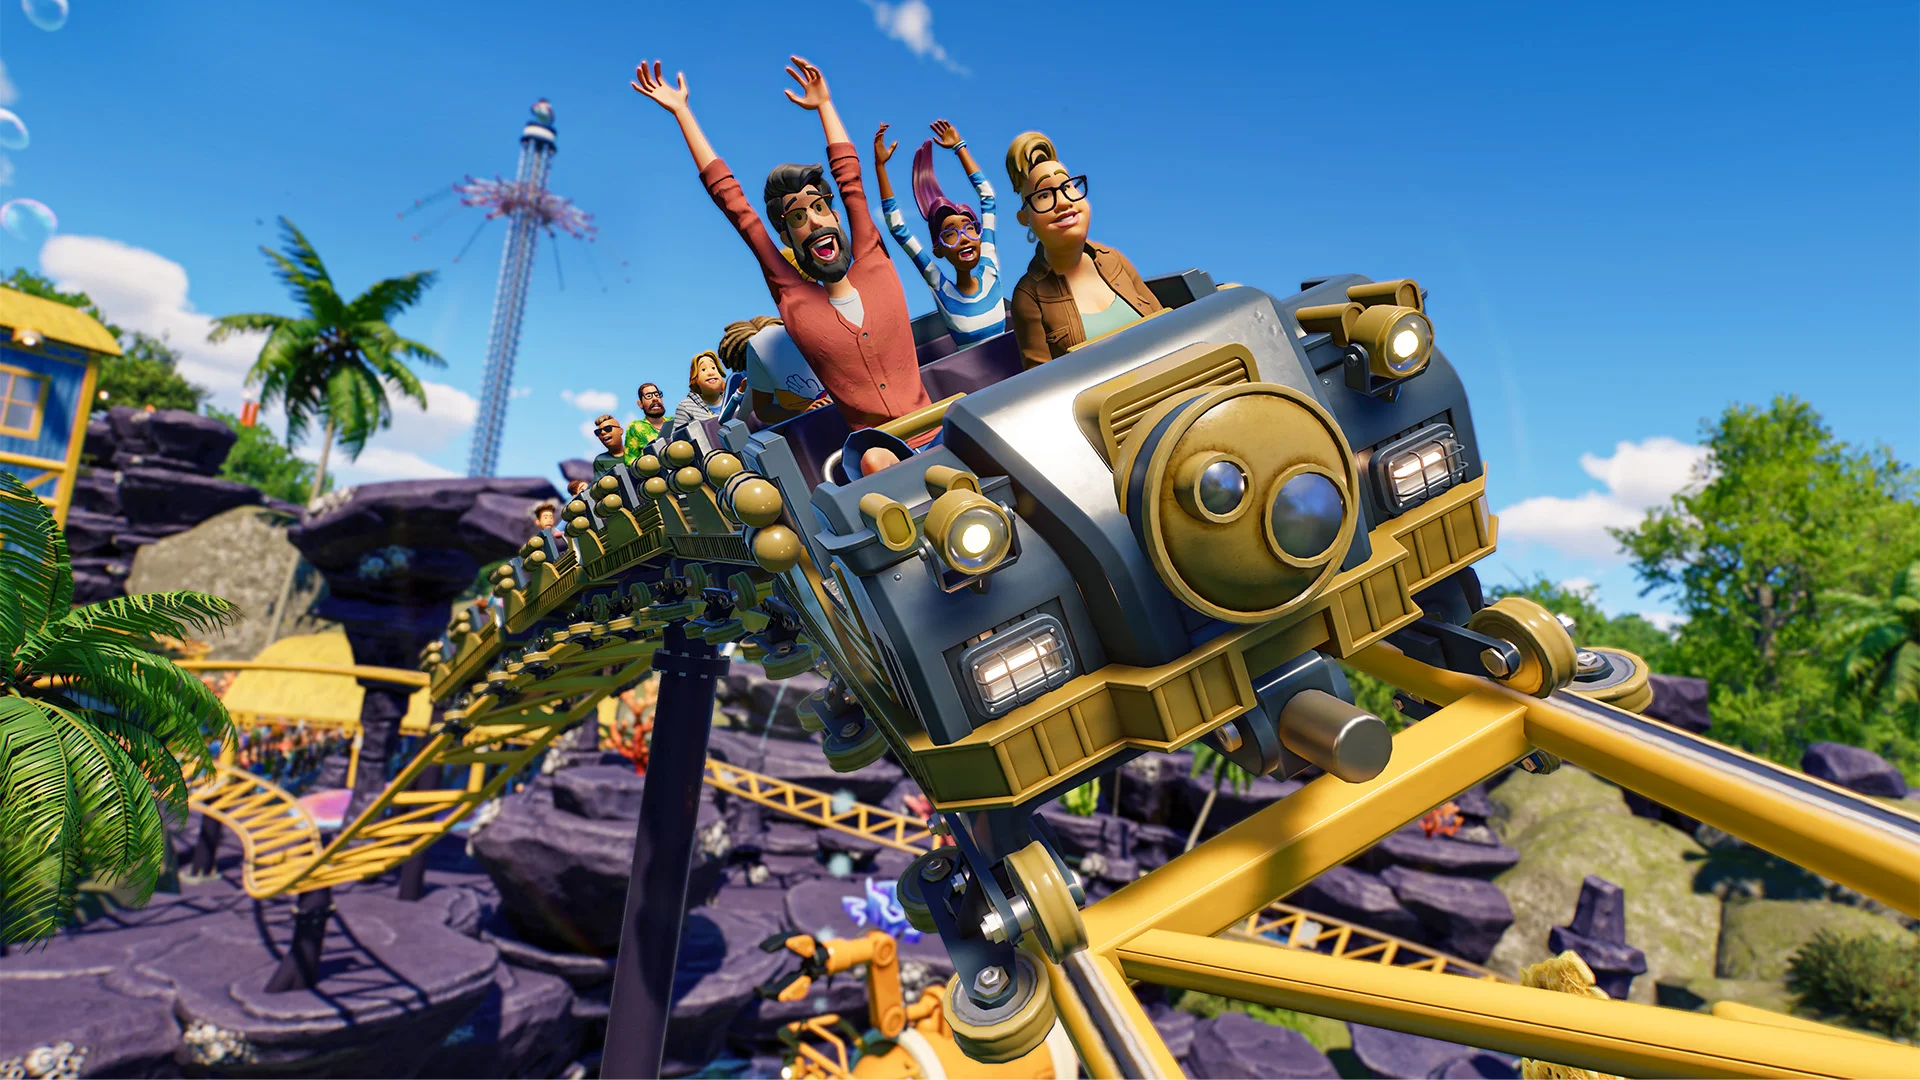
In Planet Coaster 2, you have complete control over the look and feel of your theme park, right down to the paint job on your rollercoaster tracks and flumes!
In this guide, we’ll take a look at the customisation tools you can use to add your own personal touch to your park. We’ll also look at the Event Sequencer and the array of special effects you can mix and match to make some truly breathtaking experiences for your guests.
Customising Your Rides
Every little detail matters! But it has never been simpler to completely make-over a ride and transform it into something fantastic to wow your guests.
The amazing default Blueprints in Planet Coaster 2 are perfect for quickly building a theme park. However, if you’ve got a specific theme in mind, the customisation options are endless to build your dream park, using scenery pieces, special effects sequencing, or even simply recolouring your favourite rides and flumes!
How-To Customise Rides
Find all the tools you need to personalise your coasters, rides and in one handy place.
- Navigate to your chosen ride’s info-panel and select the Customise sub-menu.
- Select which aspect of your ride you want to change, from Music and Cosmetic Colour, to adding special effect Event Sequences and attaching scenery pieces to your coasters.
- Once you’ve finished customising your ride, simply exit the Ride info-panel and marvel at your unique coaster!
Did You Know?
If you want to change your flume piece type after you have built it, you’ll need to edit it.
You can swap out enclosed slides for open sections, or even make them transparent.
Learn more about how to edit flumes in the Flume & Pool Building guide.
Customisation Tools
These helpful, creative tools are found in the Customisation sub-menu of a ride's info-panel.
- Attaching Scenery – Adding scenery pieces to your rides improves their theming and increases their prestige, keeping guests entertained for longer!
- Music – Create atmosphere for your guests as they queue and whirl around on your coasters by adding music from Planet Coaster 2’s extensive collection. You can even save your favourite tracks so they’re easy to find later!
- Ride Sequence – Flat rides can also have their sequences customised! Have a carousel spin in the opposite direction every third time around or add in a thrill inducing wait at the top of a drop tower.
- Trigger Sequence – Special effects like snow fall, pyrotechnics and jets of water can add that extra bit of sparkle to a standard coaster.
- Cosmetics – Different rides will have different areas you can adjust the cosmetics for. For example, for coasters, you can change the colourway of the tracks as well as the cars. For flumes, you can change the colours of your slides to create eye-catching attractions.
How-To Add Scenery to Rides
Creating a theme for your rides adds that all important finishing touch to your perfect theme and water park.
- Navigate to a ride’s Customise sub-menu in the info-panel. Select Attach Scenery.
- Select Add Objects. This will open the full selection of scenery pieces available to you in the Create browser.
- Now you can choose any scenery pieces to attach to your rides! You can adjust the placement settings for these decorative objects including the scale and how it snaps to surfaces.
- Once you have finished adding your creative flair to your ride, select Done next to the Editing menu to complete your customisation.
Did You Know?
You have loads of creative freedom when attaching scenery. Use the brand-new Twinning and Symmetry tools to quickly and easily customise your coaster cars.
The Twinning setting allows scenery to be duplicated automatically.
The Symmetry setting allows you to easily place duplicate scenery in symmetrical locations.
Ride Prestige
Prestige applies to all your rides, and it reflects their overall quality. Prestige increases with a number of things, including the scenery and theming of your rides. The more you customise your rides, the higher your Ride Prestige will get be.
Prestige also applies to other attractions like Pools and can be boosted in a similar way with scenery and Pool Extras.
Creating Event Sequences

In Planet Coaster 2, you can create special effect displays to entertain and delight your guests! These can be used as part of your coasters and flumes or as part of your scenery decoration through your theme and water park.
From gentle falling snow or flower petals to exciting blasts of fire and water, you can find all the available effects for your special effect sequences in the scenery menu.
Placing animatronics on rides or in a themed area of your park can take a basic design to the next level, creating dynamic displays for guests to interact with.
To place a pre-built animatronic scenery piece, navigate to the Prop sub menu of the Scenery browser and select Animatronics to view the available creations.
How-To Make Custom Animatronics
Create showstopping moments during your rides or add life to themed areas of your park with custom animatronics.
- Place a Moving Platform from the Scenery menu. These are found in the Interactive section of the Props sub menu.
- Attach an animatronic... or any scenery piece you like! Objects like balloons will wave in the wind as they move up and down tracks and flat pieces can be used to create whole moving areas.
- You can attach objects to all five sides of the Moving Platforms base. When attaching scenery objects, you can also adjust scale, snapping and the colour of each object.
- Once you’ve finished attaching items to the Moving Platform, simply select done to confirm your edits.
- If you want to add more scenery pieces, navigate to the Advanced Settings menu in the info panel and select Attach Scenery, then Add Objects.
- Choose what type of Animation type you would like the platform to have and how often it will occur within the Activation Settings.
- If you choose the On Trigger Only setting, you’ll need to place an Event Sequencer to activate your custom animatronic.
- Now you have a fun, interactive scenery piece to delight and thrill your guests! Save this as a Blueprint to share with other Park Managers in the Frontier Workshop.
How-To Use Ride Triggers
If you really want to impress your guests, don't forget to add special events to your track rides!
- Select Create Trigger Sequence in the Customise tab, then add triggers on the track where you want events to occur.
- Connect Special Effect objects or Animatronics to the triggers.
- Each object's effect or animation will start when the ride's train reaches the trigger, giving guests an extra thrill!
How-To Create an Event Sequence
Why not wow your guests by creating a spectacular special effects display? Create displays for your guests to interact with using Animatronics and special effects!
- Place a Display Sequencer object and select Edit Trigger Sequence in the info-panel.
- Add Display Groups by selecting objects with animations or special effects, like fire, water jets and snow.
- Finally, adjust the timing of the trigger sequence events, then set the display schedule to choose when the display will activate.


