Building Your Park
Build your dream amusement park with the help of a robust creative toolbox.
Packed to the brim with creative tools, Planet Coaster 2 makes it easier than ever to build the ultimate theme park.
In this beginner’s guide we introduce the suite of creative building tools available in Planet Coaster 2, giving you a head start when beginning your creations.
Placing Objects
Every theme park in Planet Coaster 2 is created using a huge range of objects, from the lowliest rubbish bin to the biggest rollercoaster.
The Browser
You can find all objects available to use in your park directly within the Browser at the bottom of your screen. The Browser features tabs allowing you to toggle between:
- Coasters
- Flat Rides
- Tracked Rides
- Flumes
- Pools
- Facilities
- Staff
- Scenery
Within these tabs you can choose to Create Custom i.e. place your own individual objects or select a pre-made Blueprint. Learn more about Blueprints in our Blueprint guide.
Placing an object from the Browser is incredibly simple. All you need to do is select your object of choice and then the object will appear in your park, ready to be moved with the Move Tool.
Move Tool
This simple all-rounder tool allows you to adjust the height, orientation and scale of the selected object.
You can use Move Snap and Angle Snap to set fixed intervals for an object's position or orientation.
- Global Snap allows you to move an object relative to the entire park.
- Local Snap allows you to move an object relative to its own current orientation.
Did You Know?
Advanced Tools
The Advanced Move Tool can be opened from the Settings panel of a selected object or in the Radial menu to give you more precision in how it is placed.
The Advanced Move Tool allows you to choose between each specific axis, and move your object into the perfect position. Just like the normal Move Tool, you can also choose to snap by fixed amounts.
You can also use the Advanced Rotate Tool and the Advanced Scale Tool in the same way for more precise rotation and scaling.
How-To Rotate an Object
Rotating an object in Planet Coaster 2 only takes a few steps:
- Select the object you want to rotate.
- Use the Move Tool, Advanced Rotate Tool or shortcuts to rotate the object until you’re happy.
Duplicate
The Duplicate function can be used to make copies of objects and Blueprints. You'll find the Duplicate option via the Object/Blueprint menu and also in the Radial menu.
Once Duplicate is selected, the Object/Blueprint can be duplicated repeatedly without needing to repeat the selection.
Demolish Brush
The Demolish Brush is a quick and easy way to delete Scenery, Rides, Paths and more.
Filters can be changed to control the size of the brush and what will be deleted. For example, a large brush could be created that only deletes scenery.
The Area Mode allows for quicker large-scale changes, while the Pointer Mode gives more precision.
How-To Delete an Object
There are a few options for deleting object in Planet Coaster 2, either individually or with the Demolish Brush.
To delete individually:
- Select the object you want to delete.
- Select the Delete button in the Info panel.
To delete with the Demolish Brush:
- Toggle the Demolish Brush using a shortcut, the radial menu or with the Demolish button in the bottom bar.
- Configure the settings of the brush to apply to the object or objects you want to delete.
- Select the objects with the brush and they will be deleted.
Did You Know?
Multi-Select
Multi-Select allows you to move, duplicate or delete multiple objects at once. Once in Multi-Select mode, you can add or remove objects from the selection at any time.
Multi-Select is ideal for creating Scenery Groups as well as new Blueprints.
How-To Use Multi-Select
Multi-Select is a powerful tool and is easy to use:
- Toggle Multi-Select using a shortcut, the radial menu or with the Multi-Select button in the bottom bar.
- Using the New Selection option individually select or draw a selection box around the objects you want to multi-select.
- Use the Add to Selection and Subtract From Selection options to add or remove any objects.
- Once happy with your Multi-Select, select the Confirm Selection button.
- You will now be able to choose from a variety of options depending on what was in your selection, including Save As a Blueprint, Group Scenery etc.
Paths & Plazas
Paths are the arteries of your park, providing your guests and staff with access to your attractions, shops and facilities!
Path Types
There are three types of paths in Planet Coaster 2:
- Standard Paths - Standard paths are for both guests and staff, they can connect flexibly, and even directly attach to ride entrances.
- Queues - Guests use queue paths to access a ride entrance from a standard path. Each queue path can only have 2 ends: an entrance and an exit. Guests will join a queue when waiting to board a ride. If the wait gets too long, you might find the line stretches out of your queue and onto your normal paths. Consider creating winding queues, decorated with scenery, to increase their capacity and keep waiting guests happy.
- Staff Paths - Staff paths can only be used by staff, providing fast access between areas that don't need scenery to keep guests happy.
Did You Know?
You can build paths over obstructions by using sloped and elevated walkways. When using the Line Builder or Classic Paths, you can create slopes and stairs quickly by moving your path up and down while holding Shift on PC or X/Square on Console.
If a path passes through terrain, it will automatically deform to fit the path – you can use this method to create tunnels around your park.
Plazas
New to Planet Coaster 2, plazas are larger paved spaces created using either Standard paths or Staff Paths. Plazas allow you to create wide areas for your guests or staff to move around in, removing the restrictions of paths and creating a true to life theme park experience.
How-To Build a Plaza
Building a plaza is as simple as building any other path:
- Toggle the Paths Tool using a shortcut, the radial menu or with the Paths button in the bottom bar.
- Using either the Draw Tool or the Stamp Builder, create large open areas for your guests to explore.
- The Line Builder and Classic Paths tool can also be used but are less suited to this purpose.
- Cut out precise stamps or freeform shapes and fill in with exciting scenery and foliage for a realistic theme park look.
- You now have a plaza!

Path Building Tools
Planet Coater 2 features a variety of tools for creating paths, each with different advantages for certain scenarios.
Line Builder
The default path tool, the Line Builder allows you to place paths using a series of points – each time you place a point, the path extends to meet it. This simple, intuitive tool, enables you to very quickly place paths around your park.
The Line Builder features customisation tools which allow you to customise the style and shape of the path being placed:
- Line Style – switch between straight and curved paths.
- Terrain Style - switch between paths suspended from terrain or choose when terrain follows the path that you are building.
- Connection – switch between Angled or Square connections to choose how the new path joins and leaves other paths.
- Line Width – adjust to increase or decrease the path width.
- Fixed Length – toggle a fixed length for each part of your path. Great for creating symmetrical paths.
- Angle Snap – allows you to place paths with consistent curves.
- Working Height – sets the height of your paths so you can cut through terrain or build over water with consistent placement.
- Snap Height – allows you to snap the path to a fixed height. Perfect for making consistent staircases.
- Merge – choose if you want your new paths to merge with existing paths or come to an end. Turning this off gives your existing paths priority over the new ones, including the custom colours, railings and path extras.
Did You Know?
Classic Paths
The Classic Paths tool returns from the original Planet Coaster, with some quality-of-life improvements. Rather than creating automatically connected larger paths, the Classic Path tools allow you to place each segment of the path individually.
The main differences from the Line Builder are:
- All paths are constructed with a single action.
- All paths are a fixed length.
- Straight and curved paths are both available on the same tool.
Draw Tool
The Draw Tool creates shapes one side at a time, completing the shape when you connect back to its starting point.
Mix and match your curves with straight lines for great looking paths and plazas.
Snap to existing corners to fill any gaps between paths, or to overwrite existing path sections.
Stamp Builder
The Stamp Builder creates precise geometric shapes chosen from a selection, that snap together to make excellent plazas. Toggle the pathing grid so you can see exactly where your stamp shape will place. Stamps can be scaled to quickly make larger shapes, ideal for intersecting other shapes with the Merge setting.
If you’re a seasoned builder the Stamp Builder can be used with the Advanced Move Tool to create raised platforms and then combined with other pathing tools such as the Line Builder to make completely custom pathways.
Edit Tool
Tweak existing paths a border at a time, adjusting their position or height. This tool is very useful for tweaking paths to get them just right, or if you want to make a particular extension to an existing path.
Selecting the Edit Tool will give you two options. Launch back into the Draw Tool for freeform pathing changes or select the move button to drag your path border to your desired point.
Rounding Tool
Smooth and round off any corners on your existing paths with the Rounding Tool brush. The strength and size of the brush can customised so you can make tiny tweaks or massive changes.
How-to Build a Path
Thanks to multiple easy-to-use options, building a path is simple!
- Toggle the Paths Tool using a shortcut, the radial menu or with the Multi-Select button in the bottom bar.
- Using the mode of your choice place paths connecting the park entrance to a destination, whether that’s an attraction or a shop. The Paths Tool will automatically connect your paths to any intersecting path if the Merge option is enabled.
- Change the size of your path to fit the needs of your park. Create thin, winding queues for your rides or wide, open walkways for guests to easily navigate around.
- Raising or lowering the elevation of your paths will cause supports and stairs to appear. This is great for creating bridges, elevated pathways or tunnels.
- Don’t forget to decorate your path with scenery to keep guests happy and path extras to provide them a place to rest or dispose of their rubbish.
Path Customisation
When building a path, you can customise its appearance through the Customise Style tab of the Path menu, choosing from a wide variety of colours and textures, some of which are supported by flexi-colour.
Choose to automatically add bins and benches as you lay down paths, adjusting the style and distance between the objects in the Customisation menu.
You can also copy an existing path’s style by using the Copy Existing Texture button and selecting the path you want to copy.
Did You Know?
Paths can be further customised with the addition of Path Extras, like bins and benches. Learn more about Path Extras in our Facilities guide.
Customise Brush
Wish the park had a different colour path? Easily paint your current path or pool style over any existing paths with the Customise Brush. Adjust the size of the Customise Brush to make sweeping changes across your theme park or shrink it to make precise edits.
Painting over the curbs of your pathways will also add or change railings depending on which custom options you have chosen.
Delete Brush
Ambitious pathing plans not worked out? No problem! The Delete Brush gives you two options for tidying up.
The standard Delete Brush can be sized up or down, much like the Customise Brush, allowing you to remove large areas of pathing or make tiny edits.
The Stamp Delete Brush works just like the Stamp Builder... only in reverse. Remove specific shapes from your paths to create custom designs; Perfect for plazas!
Terrain
In Planet Coaster 2 you have the power to shape the very earth to fit the vision of your theme park. Terrain tools allow you to edit the terrain of your park, creating hills, caves, lakes and more!
Terrain Brush
All terrain editing is completed using the Terrain Brush, which has three modes:
Sculpting Brush
Used to change the shape of terrain, the sculpting brush allows you to pull, push, flatten and chisel the terrain. With customisation options available to change the size and intensity of your sculpting, the power is in your hands!
Painting Brush
Used to change the texture of terrain, the Painting Brush allows you to paint a chosen texture onto your existing terrain, choosing from a variety of textures and customising the intensity of the brush.
Water Tool
Used to add or remove water to appropriate areas of your terrain. Simply choose the type of water you’d like and place in suitable terrain, such as a pit. The tool will highlight in blue if water can be placed or red if you are unable to place it.
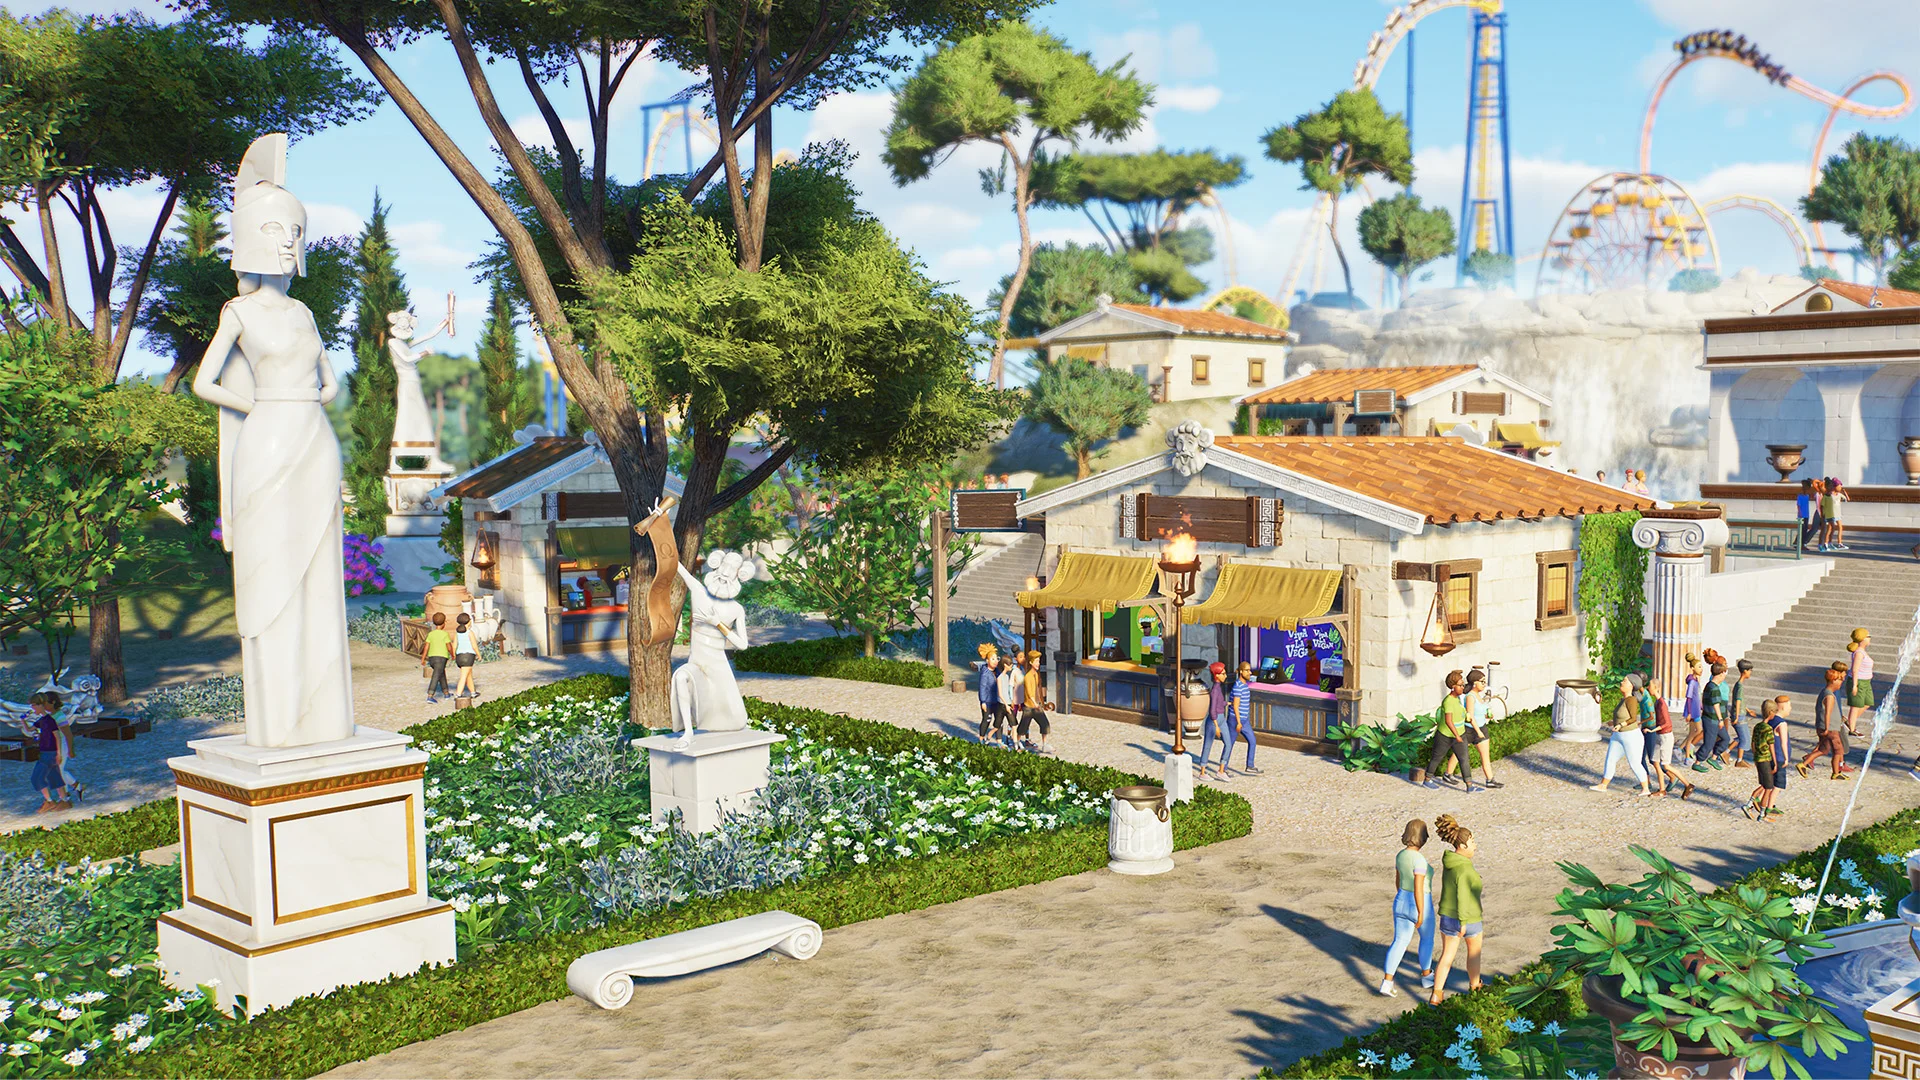
Scenery
Don't forget to immerse your guests in magnificent surroundings!
You can place Scenery from the Scenery Browser to improve the mood of your guests, as well as your park rating.
Additionally, improving the queue scenery of a ride will increase that ride's prestige and draw more guests over to it.
If you want to build your own scenery creations piece by piece, try the Create Custom option in the Browser. Otherwise, choose from the available Scenery Blueprints or head to the Frontier Workshop to find other player’s creations!

Themes
Scenery in Planet Coaster 2 is grouped into different themes, with similar styles and appearances. Learn more about Planet Coaster 2’s themes here.
Themes are more than just appearance – guests will have a preference for a particular type of scenery theme that they want to see in your park. Creating a variety of consistently themed areas not only looks great, but also helps to keep guests happy.
How-To Add Custom Billboards & Speakers
Create a totally immersive theme park for your guests with billboards and speakers throughout.
Billboards
- Select a screen from the Props section of the Scenery browser and place it on another piece of scenery or on a screen mount.
- Screens can show a static image or play a video. Choose from the variety of preset options available under Change Image.
- (PC Only) To upload your own custom videos*, save the file in Frontier Developments/Planet Coaster 2/User Media. This file location will be in the same place as your game is installed. You can then select the User Media section in the Billboard sub-menu to play your custom video on the screen.
- Videos can be looped, time delayed or triggered using an event sequencer. For more information about the Event Sequencer take a look at our Ride Customisation Guide.
- Audio will play from the screen, but you can enhance the experience by adding speakers.
*Acceptable video file type is .webm
Speakers
- Select speakers from the Props section of the Scenery browser, then place throughout your park.
- In the speaker’s sub-menu, you can select which audio type you want it to play; Music, Ambient or Sound Effect. Choose a track, set its volume & pitch and decide if it will play on a delay.
- (PC Only) To upload your own custom audio**, save the file in Frontier Developments/Planet Coaster 2/User Audio. This file location will be in the same place as your game is installed. Navigate to Change Track, then User Media to add your custom audio to the speakers.
- You can also connect your speakers to any screens you have placed in your theme park. Once your screen and speakers are set up, select Connect Speakers, in the sub-menu.
- Select which speakers you’d like connected to the screen with the Multi Select Tool and confirm selection. You can manage connected speakers in the screen sub-menu.
**Acceptable audio file types are AAC, AIFF, FLAC, M4A, MP3, OGG, WAV, WMA
Fireworks
Create themed displays in small sections of your park or strategically place fireworks throughout your park for a showstopping end to each day!
How-To Create a Fireworks Show
Dazzle and delight your park guests with a fireworks show.
- Place an Event Sequencer.
- Browse the fireworks by selecting Browse Trigger Objects in the sub-menu or navigating to the Special Effects section of the Scenery menu in the browser.
- Place your chosen fireworks. Choose from a variety of effects including roman candles, comets, numbers and letters. You can also edit the colour of each firework in the Customise section of the sub-menu.
- Select your Event Sequencer and press the Edit Trigger Sequence button. Then select + Add Objects.
- Use the Multi-select tool to highlight all the fireworks you want to add to your sequence.
- Once you have selected all your fireworks, choose Edit Selection to open the Event Sequencer and create your show. For more information on creating sequences with the Event Sequencer check out our Ride Customisation Guide.
- All that’s left is to start the show!
Did You Know?
Scenery Rating
Your park’s Scenery Rating is one of four metrics used to calculate your overall Park Rating.
You can find your Scenery Rating in the Park Management menu. Here you’ll see what your Scenery Score is and how many points you need to increase your Scenery Rating to the next star level - learn more about improving your Park Rating in our Park Management guide.
You can check your overall Scenery Rating within the heatmaps too!
Each scenery object has its own score which contributes to your Scenery Rating. Check what the scenery score for an individual item is by selecting the object, then navigating the Advanced Settings in its individual info-panel.
The more complex and expensive the scenery object is, the higher its scenery score tends to be.
How-To Increase Scenery Rating
Increase your park’s Scenery Rating by decorating and theming guest areas with all kinds of scenery objects.
- Select the Scenery button on the browser toolbar.
- Then, either select Blueprints to add a quick bit of decorative flair or choose Create Custom and add individual scenery objects to your park.
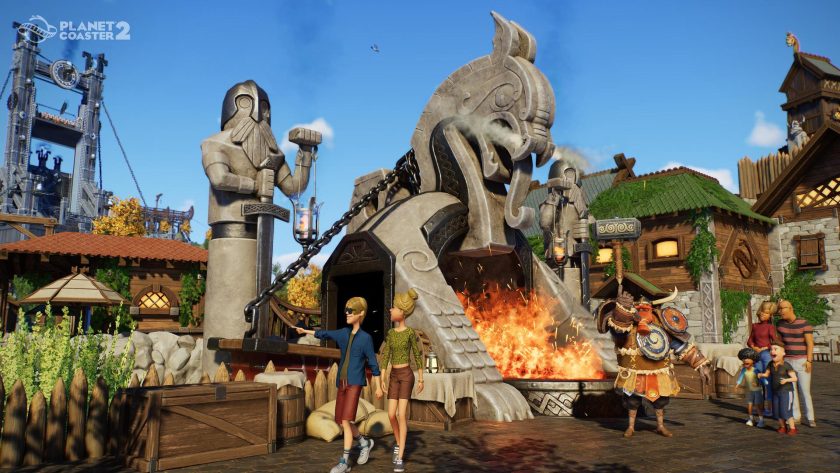
- Create wonderful and wacky areas all over your theme park from Viking waterslides to Mythology themed dining space.
- Some objects will decrease your scenery rating, such as generators, water pumps and staff buildings. Hide these from view with decorations, foliage or walls to combat any negative scores!
- Once you’re happy with your decorating decisions, check your Scenery Rating in the Park Management menu. Keep adding objects until you’re happy with your score, or your amazing creations.
Did You Know?
Scenery Groups
Exactly what it says on the tin, Scenery Groups are a selection of scenery that can be moved and edited as one.
Scenery Groups can also be used to create Buildings, with some scenery items automatically snapping together as they’re placed (depending on your Settings menu when placing the scenery).
How-To Make a Scenery Group
To create a Scenery Group:
- Toggle Multi-Select using a shortcut, the radial menu or with the Multi-Select button in the bottom bar.
- Using the New Selection option individually select or draw a selection box around the scenery you want to multi-select.
- Use the Add to Selection and Subtract From Selection options to add or remove any scenery. Make sure you have only selected scenery.
- Once happy with your Multi-Select, select the Confirm Selection button.
- Select the Group Scenery option. The scenery has now been grouped and can be moved/edited as one.
How-To Make a Building
To create a building:
- Select a scenery piece with the “Building” tag.
- Once placed, the scenery will automatically begin a new building group. Continue placing the same piece to expand the building. Where possible, building pieces will also snap together.
- New scenery pieces can be added to a building by toggling the Add to Building option when placing.
- Using this system you can rapidly build a custom building, with different scenery pieces and styles.
Scenery Brush
The Scenery Brush can be used to quickly place a larger number of scenery pieces.
There are brush presets available to help you, but you can also create and save custom brushes using your own scenery.
Did You Know?
The Scenery Brush can be customised to choose:
- The size of the brush
- The intensity of the brush
- Whether scenery will align to the surface
- Whether scenery should avoid paths
- Whether scenery should avoid other existing scenery
Attractions
What is a theme park without some exciting attractions for your guests to enjoy?
Attractions, including coasters, flat rides, tracked rides and transport can be placed like any other objects using the browser to select a Blueprint or Build Custom.
Learn more about building the best possible attractions in our Coasters & Rides Building Guide.
Pools & Flumes
New to Planet Coaster 2, create a splash with pools and flumes in your ultimate water park.
Flumes can be placed like any other attraction and pools are created using similar tools to paths.
Learn more about creating a water park to remember in our Pools & Flumes Building Guide.
Facilities, Shops and More!
Keeping your rides running and your guests happy is no easy task!
In addition to thrilling rides and soaking flumes, your park needs a network of talented people and support buildings if you want it to stay open. You’ll also need to keep your guests fed, stocked with souvenirs and more if you want them to spend any real amount of time in your park!
Visit our Facilities guide and Staff guide to learn about your park’s support network and the people who keep it running. Then head on over to the Guests guide to learn what makes your visitors tick, before supplying them with plenty of goodies in our Shops and Vendors guide.


