Flume & Pool Building
Design and build splash-tastic water attractions for your guests to enjoy
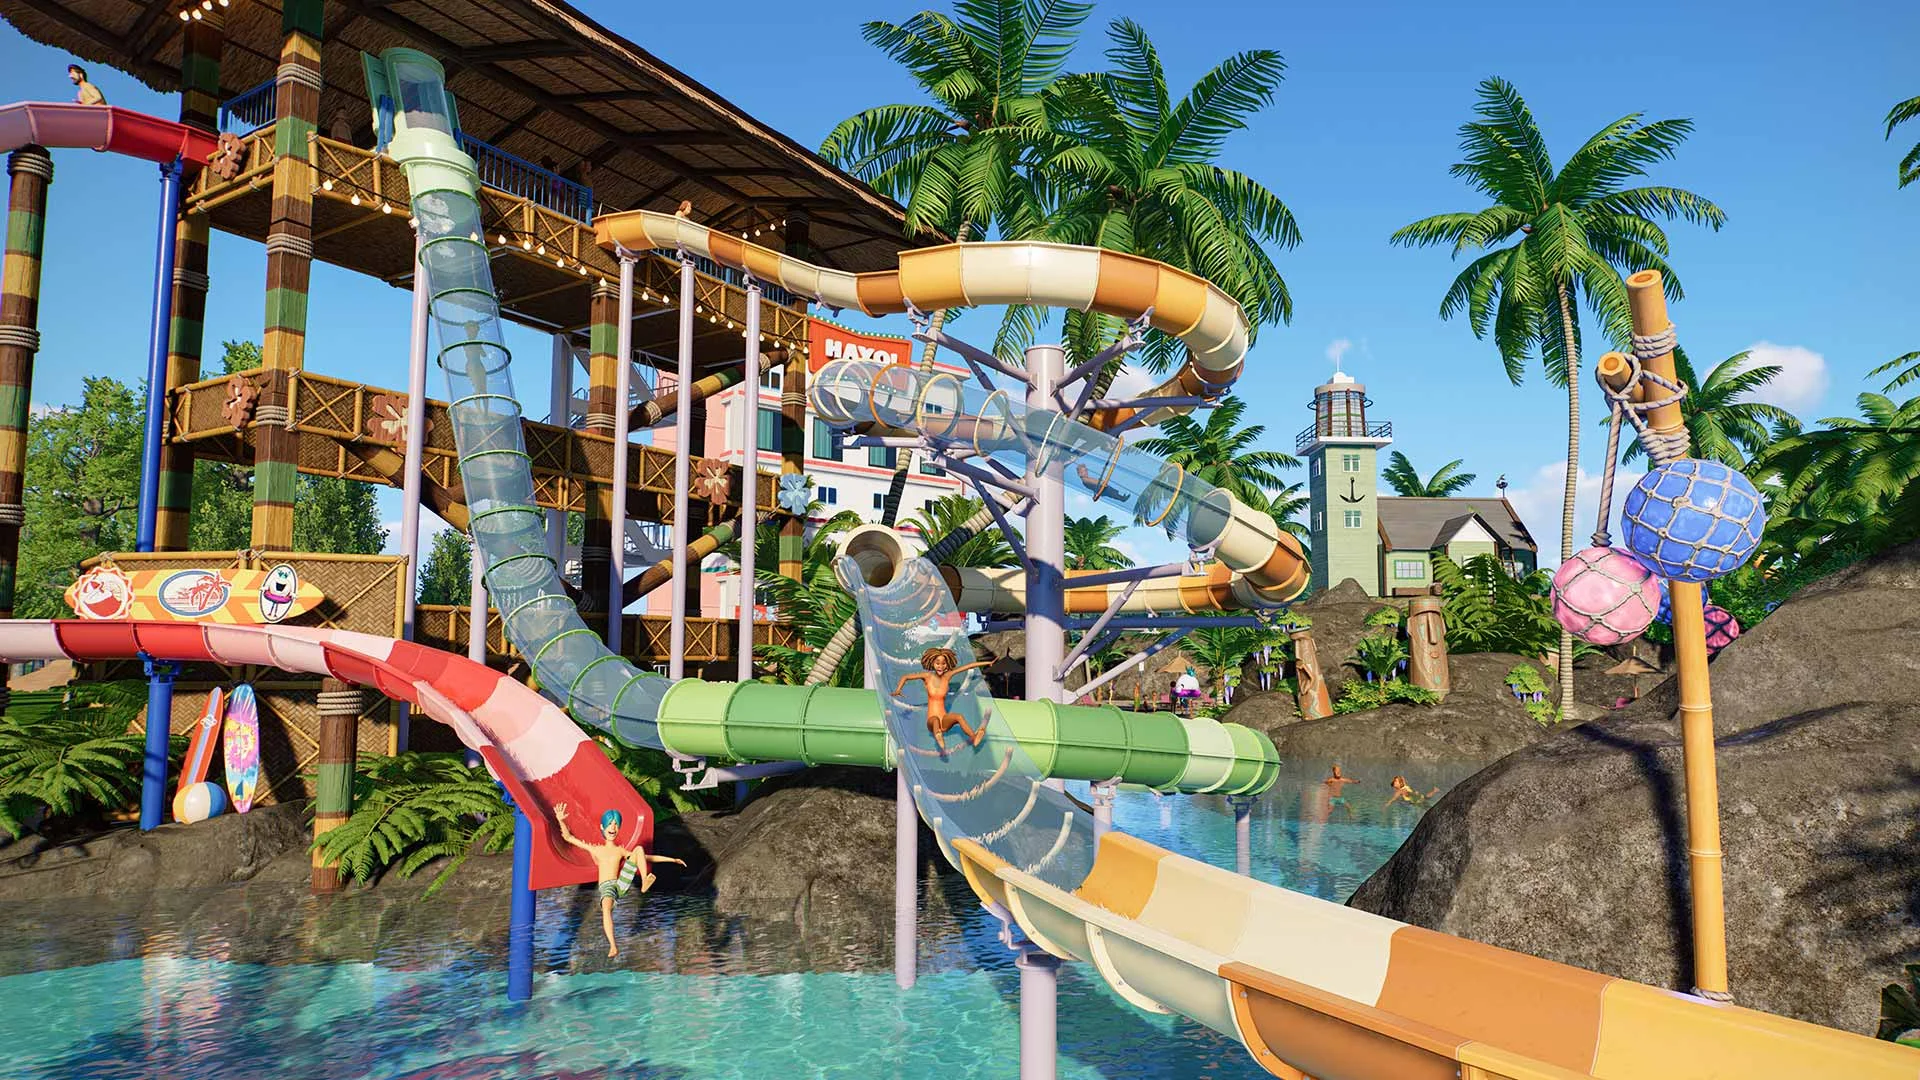
Pools and flumes are brand-new to Planet Coaster 2! On top of building your dream theme park, you can now also create a splash with the ultimate water park experience for your guests.
In this guide, learn how to build a variety of pools and flumes so your guests can dive into the fun!
Building Pools

Make waves as Park Manager by designing and building the very best water park! Whether building with Blueprints or starting from scratch, pools are endlessly customisable in shape and style.
Pools can be created by using one of the pre-made Blueprints, in-game or in the Frontier Workshop, or you can create your own from scratch using the flexible building tools!
Pools are built using similar tools to paths, so if you’re already comfortable building paths you’ll be a natural at building pools!
There are three tools you can use to build pools:
- The Line Builder – Ideal for creating rows or Lazy Rivers
- The Draw Tool – Ideal for creating asymmetric or curved pool
- The Stamp Builder – Ideal for quickly placing regularly shaped pools, including square, hexagon, octagon and pentagon.
Within these tools you also have the option to choose Line Style, Edge Type and Depth:
- Line Style – Straight or Curve allows you to build straight geometric pools or abstract shapes.
- Edge Type - Allows you to choose between infinity or pathed pools.
- Depth – Allows you to choose between swimming, diving, shallow and wading depths.
How-To Build a Pool
- Select which tool you’d like to use to build your pool from Line Builder, Draw Tool and Stamp Builder.
- Place your pool, making adjustments with the customisation tools until you’ve got it juuuuust right.
- Now it’s time to decorate! Don’t forget to add Pool Extras like ladders so guests can safely access your water attractions.
- Finally, connect your pool to a path and make sure it has a supply of clean water. Now your guests can dive in!
Did You Know?
Editing Pools
Once you have placed a pool, you can make edits to the design using several tools. These include:
- The Rounding Tool – Smooths out harsh edges and corners of an existing pool.
- The Customise Brush – Allows you to paint over an existing pool to change the tile and edging.
- The Edit Tool – Allows you to select an existing board of a pool and adjust its position and height.
These tools will let you tweak and adjust all your pools to your hearts content!
How-To Build a Wave Pool
Wave pools are a fantastic addition to any water park!
- To create a wave pool, you’ll need a pool with flat walls on at least one side. You can either use a Blueprint or you can Create Custom. The simplest method we’d suggest is using the Stamp Tool.
- Once you have built your pool, navigate to Pool Extras and place a Wave Machine. These come in four lengths for different sized pools.
- The length of the wave machine doesn’t have an impact on how far the waves reach. However, the size of the pool does. So, make sure to use enough wave machines to... make waves!
How-To Build a Lazy River
Lazy rivers are best enjoyed with inflatables! Place a Splash Emporium to allow guests to purchase lilos and pool rings so they can bob down a tranquil lazy river.
- Select Create Custom in the Pool Browser. Using the Line Builder, navigate to the Lazy Rivers section within the build menu to see the custom options.
- To place jets yourself, navigate to Pool Extras and select the Lazy River Jet. Place these along both sides of your river.
- Don’t forget to add lifeguard stations for safety and ladders for easy access in and out of the pool. All that’s left is to decorate this relaxing lazy river!
When you place jets, they will auto-snap at the correct height and direction for your lazy river, so you won’t need to spend hours adjusting them!
Pool Safety
To make sure everyone has a good time at your park, you will need to keep your guests safe! For your pools this means having lifeguards present. To learn more about Lifeguards and other staff, read our Staff Guide.
You can hire Lifeguards by placing lifeguard stations, found in Pool Extras, when you build a pool. You can also hire Lifeguards in the staff browser, but you’ll need to assign them to a post, otherwise they’ll just hang out in the staff room!
The Pool Area Safety percentage goes up to and remains at 100% when a Lifeguard is assigned to the Chair or Post - but will start dropping as soon as the Chair or Post is empty. Each lifeguard has a cone of vision that will cover an area of a pool, depending on its size.
High Pool Area Safety percentages mean that Guests will panic less in that area, whereas low Pool Area Safety percentages (or no Lifeguard Chair or Lifeguard Post coverage at all) will have a lot more panicking guests.
Did You Know?
Pool Prestige
With great pools comes great prestige!
Pool Prestige reflects the overall quality of your pool and indicates your guests’ desire to visit it for a dip!
A pool with high prestige attracts lots of guests who are willing to pay extra to have a swim. Pool Prestige increases with pool size and occupancy, and is boosted by adding scenery, pool extras, and flumes.
How-To Increase Pool Prestige
Building a pool with Prestige is key if you want to attract and charge more guests to take a dip. To increase your Pool Prestige:
- Build your custom pool or place a pool blueprint.
- Select your pool and view the Pool Prestige rating in the Overview menu.
- Navigate to the Prestige tab of the pool menu for a more detailed breakdown of your Pool Prestige. This will include how your Pool Prestige is rated based on its size, wave machines, water jets, attached flumes, pool extras and overall scenery rating.
- Make additions to your pool or expand its total size to increase the Pool Prestige. An easy way to quickly increase your rating is to make sure your pool is surrounded by scenery – try using the Scenery Brush to quickly place more scenery around the pool.
- As you make changes to your pool, the Prestige tab will update to show the impact on your Pool Prestige.
Did You Know?
You can review your rides, pools, shops and flumes in the Park Management menu to ensure they are in tip top condition and performing well.
Building Flumes
Flumes are a brand-new water attraction you can build for guests to enjoy. These have the same rating system as your coasters and flat rides do: Excitement, Fear and Nausea.
This rating system helps guests decide which attractions they want to go on, as each guest will have different preferences and limitations.
Did You Know?
There are plenty of fantastic flumes to choose from including body, raft, mat and tube flumes as well as body slides! For a full list of the flumes in Planet Coaster 2, head over to our Ride Guide.

Choose whether you want to design a flume from scratch or pick one of the many Blueprints, either in-game or from the Frontier Workshop.
To learn more about Blueprints and the Frontier Workshop, check out our Blueprints Guide.
How-To Build a Flume
Piece-by-piece construction makes building spectacular flumes a piece of cake!
- Select Create Custom and choose the flume type you want to build.
- Place a flume platform. Before placing, you can adjust the height and rotation of the platform to suit your needs.
- Select the Flume tab and place the entrance piece to your flume. This can be placed on any of the four sides of the platform.
- Use piece-by-piece construction to build your flume, adjusting the pitch and angle of each section. At this stage you can change the design of each section; the pieces available to you will be different depending on the flume type you choose.
- Place the end piece so guests arrive safely at the end of the flume. This can be a pool or a special end piece.
- Add an entrance to your flume and connect it to existing paths so your guests can access the ride.
- Now you’ve built a flume, you’ll need to test it before you can open. This will show you if the slide is functional, as well as give you the Excitement, Fear and Nausea ratings.
- Finally, make sure your flume has a supply of clean water and assign a Ride Attendant. Your Flume is now ready for guests to enjoy!
Did You Know?
Here you can also add sequences like sparks, splashes and pyrotechnics to make your flumes even more exciting and add to their prestige.
Maintaining Pools and Flumes
Keeping your pools and flumes clean is vital to running your water park effectively. No one wants to swim in a dirty pool!
To learn more about pool maintenance head to our Park Management guide.


